


Adding or linking your children's accounts
Lesson 1 of 4
What you'll do in this lesson: - Navigate to the My Children management area - Decide between creating a managed account or linking an existing one - Create a new login for a younger student - Connect an existing child's profile using an 8-character link code
Open the My Children section
Sign in to your parent account and click My Children in the top navigation bar. This screen lists all children connected to your family profile.
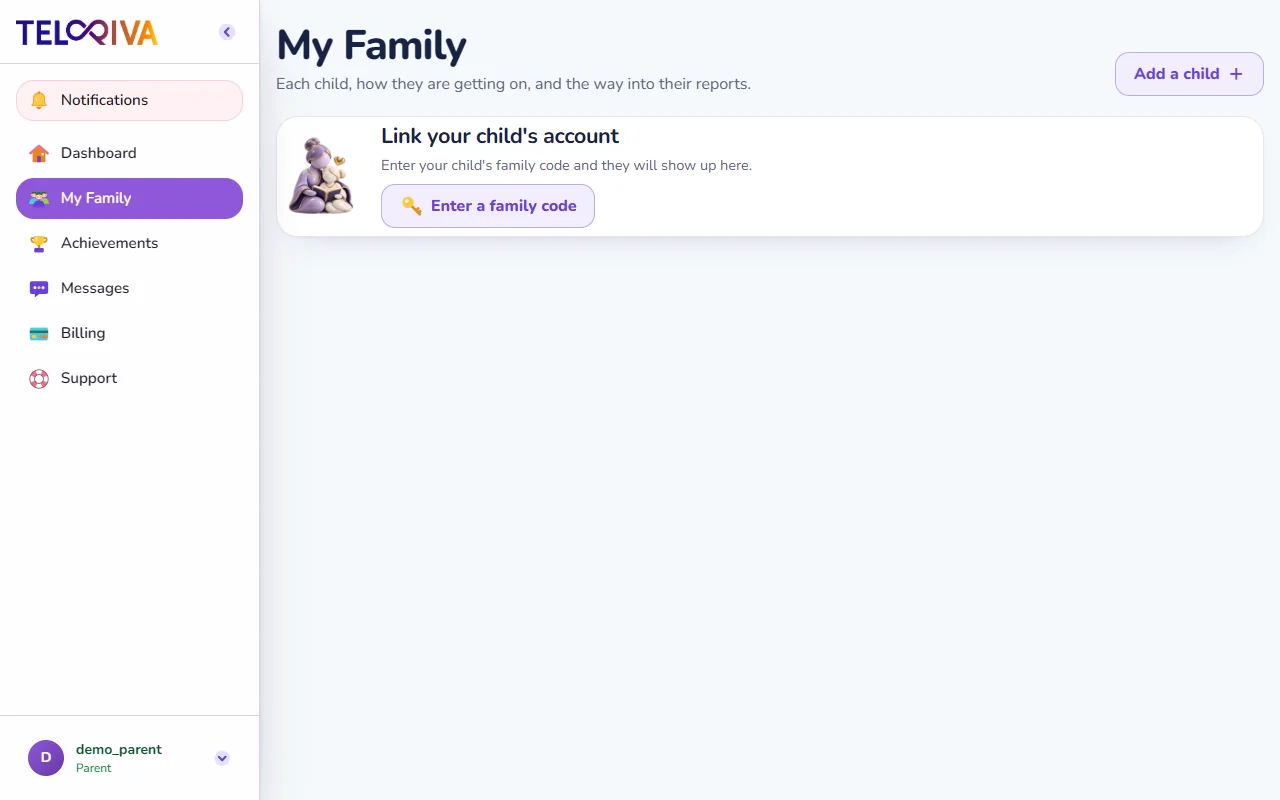
If you have not added any children yet, you will see options to either create a brand-new child login or link an existing account.
Choose how to add your child
There are two distinct ways to add a child, depending on their current setup:
- Add a child (Managed account): Recommended for younger learners who do not yet have an account. You control their credentials and setup directly.
- Link an existing child: For a child who already has an account created at school or with a tutor.
Create a managed account
Click Add a child. Complete the brief form:
- Enter their first name, last name, and date of birth.
- Select their current grade level.
- Choose a username and a secure password for them.
Select Save. Your child can now sign in immediately using those credentials and start learning.
Or link an existing student with a code
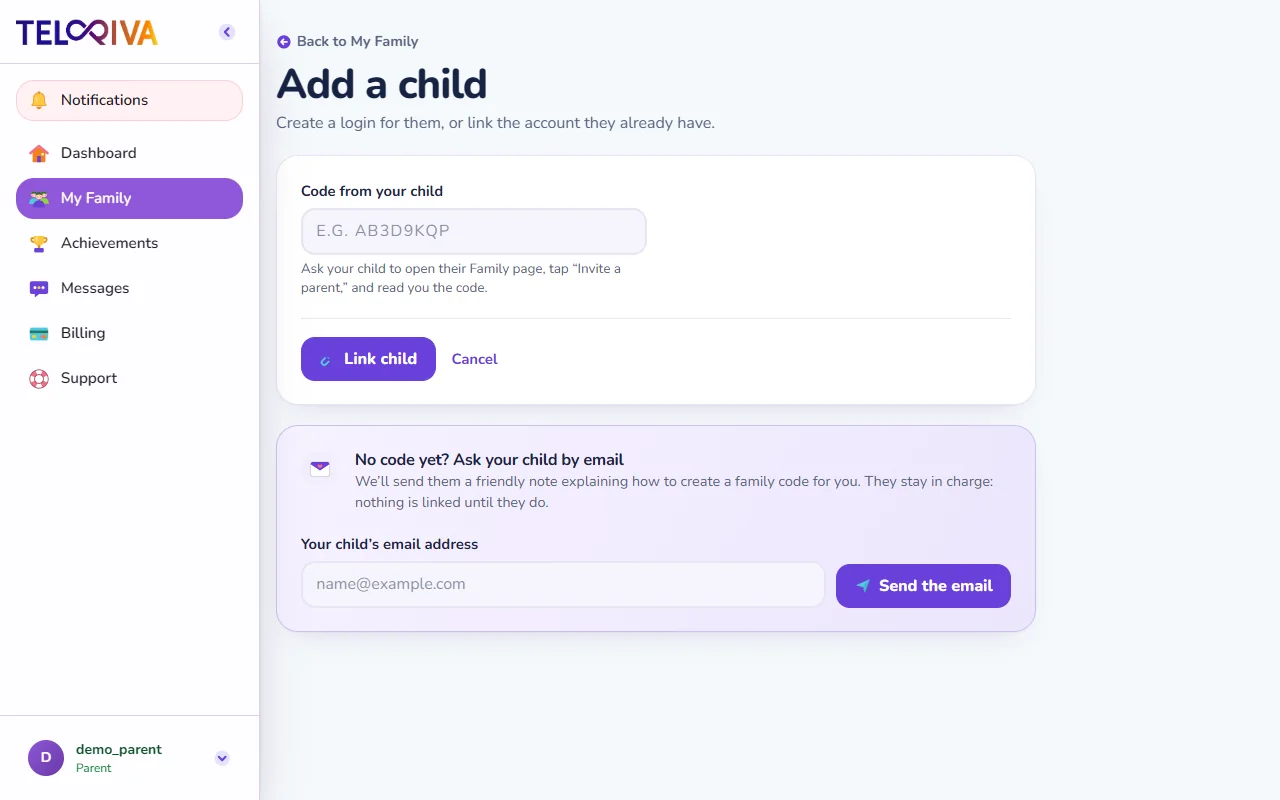
If your child already has an account, select Link an existing child:
- Have your child sign in to their account, navigate to their Family page, and click Create a code.
- Their screen will show a temporary 8-character code (valid for 72 hours).
- Enter that code into your parent panel and click Link child.
Tip. A linked child's school work, teacher assignments, and independent login remain completely unaffected if you ever decide to unlink later.
Still need help?
Message the team, or open a ticket if something is broken. We reply by email.